For Debian package maintainers, the wrap-and-sort tool is one of those nice tools that I use once in a while, and every time have to re-read the documentation to conclude that I want to use the --wrap-always --short-indent --trailing-comma --sort-binary-package options (or -satb for short). Every time, I also wish that I could automate this and have it always be invoked to keep my debian/ directory tidy, so I don’t have to do this manually once every blue moon. I haven’t found a way to achieve this automation in a non-obtrusive way that interacts well with my git-based packaging workflow. Ideally I would like for something like the lintian-hook during gbp buildpackage to check for this – ideas?
Meanwhile, I have come up with a way to make sure I don’t forget to run wrap-and-sort for long, and that others who work on the same package won’t either: create an autopkgtest which is invoked during the Salsa CI/CD pipeline using the following as debian/tests/wrap-and-sort:
#!/bin/sh

set -eu

TMPDIR=$(mktemp -d)
trap "rm -rf $TMPDIR" 0 INT QUIT ABRT PIPE TERM

cp -a debian $TMPDIR
cd $TMPDIR
wrap-and-sort -satb
diff -ur $OLDPWD/debian debian
Add the following to debian/tests/control to invoke it – which is intentionally not indented properly so that the self-test will fail so you will learn how it behaves.
Now I will get build failures in the pipeline once I upload the package into Salsa, which I usually do before uploading into Debian. I will get a diff output, and it won’t be happy until I push a commit with the output of running wrap-and-sort with the parameters I settled with.
While autopkgtest is intended to test the installed package, the tooling around autopkgtest is powerful and easily allows this mild abuse of its purpose for a pleasant QA improvement.
A personal reflection on how I moved from my Debian home to find two new homes with Trisquel and Guix for my own ethical computing, and while doing so settled my dilemma about further Debian contributions.
Debian‘s contributions to the free software community has been tremendous. Debian was one of the early distributions in the 1990’s that combined the GNU tools (compiler, linker, shell, editor, and a set of Unix tools) with the Linux kernel and published a free software operating system. Back then there were little guidance on how to publish free software binaries, let alone entire operating systems. There was a lack of established community processes and conflict resolution mechanisms, and lack of guiding principles to motivate the work. The community building efforts that came about in parallel with the technical work has resulted in a steady flow of releases over the years.
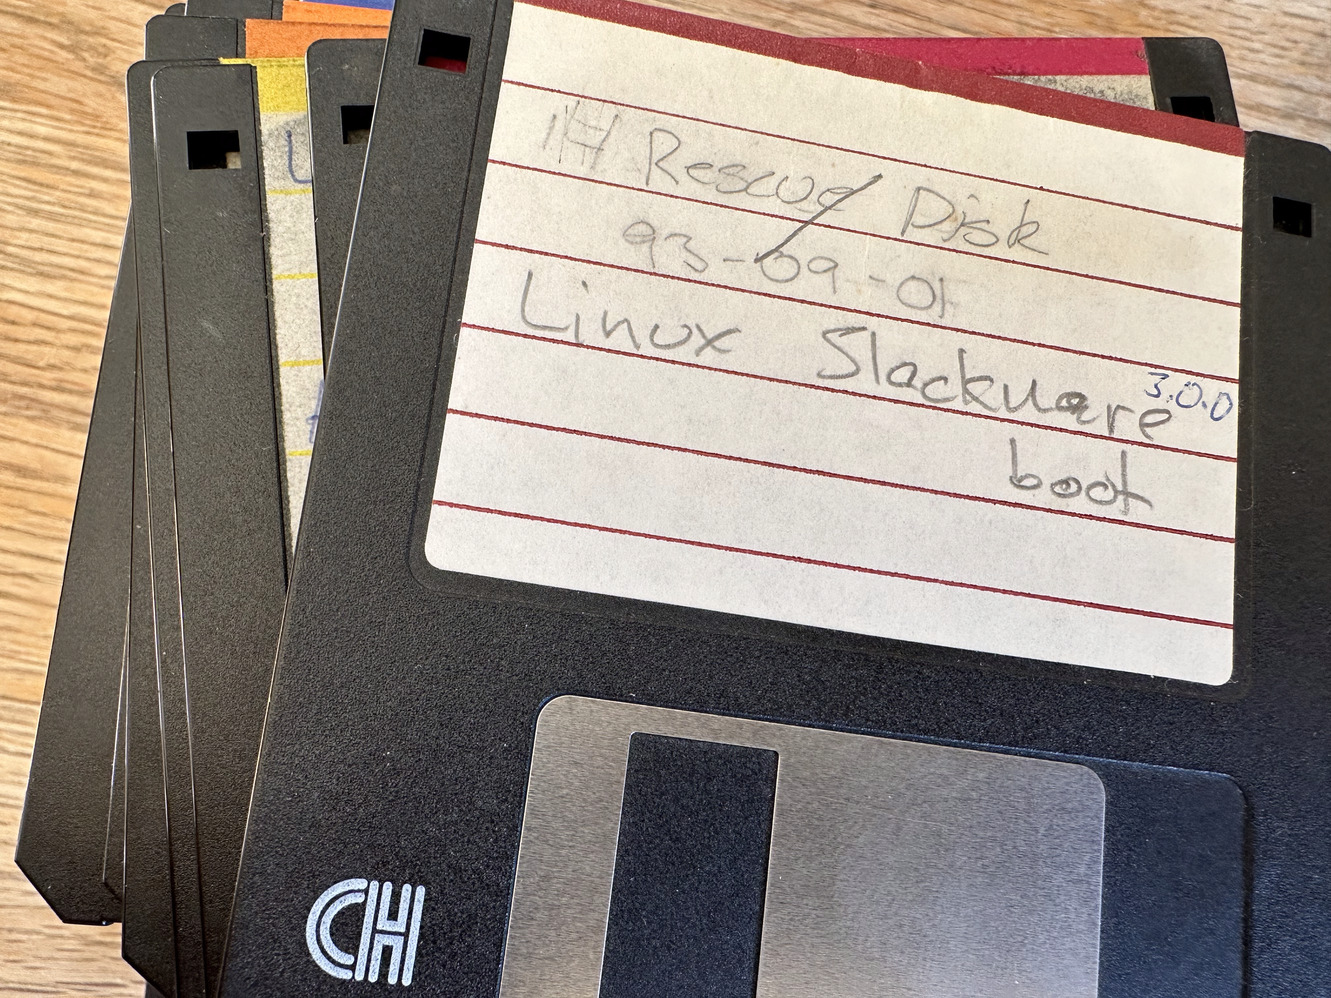
One of my earlier Slackware install disk sets, kept for nostalgic reasons.
I was introduced to GNU/Linux through Slackware in the early 1990’s (oh boy those nights calculating XFree86 modeline’s and debugging sendmail.cf) and primarily used RedHat Linux during ca 1995-2003. I switched to Debian during the Woody release cycles, when the original RedHat Linux was abandoned and Fedora launched. It was Debian’s explicit community processes and infrastructure that attracted me. The slow nature of community processes also kept me using RedHat for so long: centralized and dogmatic decision processes often produce quick and effective outcomes, and in my opinion RedHat Linux was technically better than Debian ca 1995-2003. However the RedHat model was not sustainable, and resulted in the RedHat vs Fedora split. Debian catched up, and reached technical stability once its community processes had been grounded. I started participating in the Debian community around late 2006.
My interpretation of Debian’s social contract is that Debian should be a distribution of works licensed 100% under a free license. The Debian community has always been inclusive towards non-free software, creating the contrib/non-free section and permitting use of the bug tracker to help resolve issues with non-free works. This is all explained in the social contract. There has always been a clear boundary between free and non-free work, and there has been a commitment that the Debian system itself would be 100% free.
The concern that RedHat Linux was not 100% free software was not critical to me at the time: I primarily (and happily) ran GNU tools on Solaris, IRIX, AIX, OS/2, Windows etc. Running GNU tools on RedHat Linux was an improvement, and I hadn’t realized it was possible to get rid of all non-free software on my own primary machine. Debian realized that goal for me. I’ve been a believer in that model ever since. I can use Solaris, macOS, Android etc knowing that I have the option of using a 100% free Debian.
While the inclusive approach towards non-free software invite and deserve criticism (some argue that being inclusive to non-inclusive behavior is a bad idea), I believe that Debian’s approach was a successful survival technique: by being inclusive to – and a compromise between – free and non-free communities, Debian has been able to stay relevant and contribute to both environments. If Debian had not served and contributed to the free community, I believe free software people would have stopped contributing. If Debian had rejected non-free works completely, I don’t think the successful Ubuntu distribution would have been based on Debian.
I wrote the majority of the text above back in September 2022, intending to post it as a way to argue for my proposal to maintain the status quo within Debian. I didn’t post it because I felt I was saying the obvious, and that the obvious do not need to be repeated, and the rest of the post was just me going down memory lane.
The Debian project has been a sustainable producer of a 100% free OS up until Debian 11 bullseye. In the resolution on non-free firmware the community decided to leave the model that had resulted in a 100% free Debian for so long. The goal of Debian is no longer to publish a 100% free operating system, instead this was added: “The Debian official media may include firmware”. Indeed the Debian 12 bookworm release has confirmed that this would not only be an optional possibility. The Debian community could have published a 100% free Debian, in parallel with the non-free Debian, and still be consistent with their newly adopted policy, but chose not to. The result is that Debian’s policies are not consistent with their actions. It doesn’t make sense to claim that Debian is 100% free when the Debian installer contains non-free software. Actions speaks louder than words, so I’m left reading the policies as well-intended prose that is no longer used for guidance, but for the peace of mind for people living in ivory towers. And to attract funding, I suppose.
So how to deal with this, on a personal level? I did not have an answer to that back in October 2022 after the vote. It wasn’t clear to me that I would ever want to contribute to Debian under the new social contract that promoted non-free software. I went on vacation from any Debian work. Meanwhile Debian 12 bookworm was released, confirming my fears. I kept coming back to this text, and my only take-away was that it would be unethical for me to use Debian on my machines. Letting actions speak for themselves, I switched to PureOS on my main laptop during October, barely noticing any difference since it is based on Debian 11 bullseye. Back in December, I bought a new laptop and tried Trisquel and Guix on it, as they promise a migration path towards ppc64el that PureOS do not.
While I pondered how to approach my modest Debian contributions, I set out to learn Trisquel and gained trust in it. I migrated one Debian machine after another to Trisquel, and started to use Guix on others. Migration was easy because Trisquel is based on Ubuntu which is based on Debian. Using Guix has its challenges, but I enjoy its coherant documented environment. All of my essential self-hosted servers (VM hosts, DNS, e-mail, WWW, Nextcloud, CI/CD builders, backup etc) uses Trisquel or Guix now. I’ve migrated many GitLab CI/CD rules to use Trisquel instead of Debian, to have a more ethical computing base for software development and deployment. I wish there were official Guix docker images around.
Time has passed, and when I now think about any Debian contributions, I’m a little less muddled by my disappointment of the exclusion of a 100% free Debian. I realize that today I can use Debian in the same way that I use macOS, Android, RHEL or Ubuntu. And what prevents me from contributing to free software on those platforms? So I will make the occasional Debian contribution again, knowing that it will also indirectly improve Trisquel. To avoid having to install Debian, I need a development environment in Trisquel that allows me to build Debian packages. I have found a recipe for doing this:
# System commands:
sudo apt-get install debhelper git-buildpackage debian-archive-keyring
sudo wget -O /usr/share/debootstrap/scripts/debian-common https://sources.debian.org/data/main/d/debootstrap/1.0.128%2Bnmu2/scripts/debian-common
sudo wget -O /usr/share/debootstrap/scripts/sid https://sources.debian.org/data/main/d/debootstrap/1.0.128%2Bnmu2/scripts/sid
# Run once to create build image:
DIST=sid git-pbuilder create --mirror http://deb.debian.org/debian/ --debootstrapopts "--exclude=usr-is-merged" --basepath /var/cache/pbuilder/base-sid.cow
# Run in a directory with debian/ to build a package:
gbp buildpackage --git-pbuilder --git-dist=sid
How to sustainably deliver a 100% free software binary distributions seems like an open question, and the challenges are not all that different compared to the 1990’s or early 2000’s. I’m hoping Debian will come back to provide a 100% free platform, but my fear is that Debian will compromise even further on the free software ideals rather than the opposite. With similar arguments that were used to add the non-free firmware, Debian could compromise the free software spirit of the Linux boot process (e.g., non-free boot images signed by Debian) and media handling (e.g., web browsers and DRM), as Debian have already done with appstore-like functionality for non-free software (Python pip). To learn about other freedom issues in Debian packaging, browsing Trisquel’s helper scripts may enlight you.
Debian’s setback and the recent setback for RHEL-derived distributions are sad, and it will be a challenge for these communities to find internally consistent coherency going forward. I wish them the best of luck, as Debian and RHEL are important for the wider free software eco-system. Let’s see how the community around Trisquel, Guix and the other FSDG-distributions evolve in the future.
The situation for free software today appears better than it was years ago regardless of Debian and RHEL’s setbacks though, which is important to remember! I don’t recall being able install a 100% free OS on a modern laptop and modern server as easily as I am able to do today.
Happy Hacking!
Addendum 22 July 2023: The original title of this post was Coping with non-free Debian, and there was a thread about it that included feedback on the title. I do agree that my initial title was confrontational, and I’ve changed it to the more specific Coping with non-free software in Debian. I do appreciate all the fine free software that goes into Debian, and hope that this will continue and improve, although I have doubts given the opinions expressed by the majority of developers. For the philosophically inclined, it is interesting to think about what it means to say that a compilation of software is freely licensed. At what point does a compilation of software deserve the labels free vs non-free? Windows probably contains some software that is published as free software, let’s say Windows is 1% free. Apple authors a lot of free software (as a tangent, Apple probably produce more free software than what Debian as an organization produces), and let’s say macOS contains 20% free software. Solaris (or some still maintained derivative like OpenIndiana) is mostly freely licensed these days, isn’t it? Let’s say it is 80% free. Ubuntu and RHEL pushes that closer to let’s say 95% free software. Debian used to be 100% but is now slightly less at maybe 99%. Trisquel and Guix are at 100%. At what point is it reasonable to call a compilation free? Does Debian deserve to be called freely licensed? Does macOS? Is it even possible to use these labels for compilations in any meaningful way? All numbers just taken from thin air. It isn’t even clear how this can be measured (binary bytes? lines of code? CPU cycles? etc). The caveat about license review mistakes applies. I ignore Debian’s own claims that Debian is 100% free software, which I believe is inconsistent and no longer true under any reasonable objective analysis. It was not true before the firmware vote since Debian ships with non-free blobs in the Linux kernel for example.
This is the kind of work that gets done while waiting for the build machines to attempt to reproducibly build PureOS. Unfortunately, the results is that a meager 16% of the 765 added/modifed packages are reproducible by me. There is some infrastructure work to be done to improve things: we should use sbuild for example. The build infrastructure should produce signed statements for each package it builds: One statement saying that it attempted to reproducible build a particular binary package (thus generated some build logs and diffoscope-output for auditing), and one statements saying that it actually was able to reproduce a package. Verifying such claims during apt-get install or possibly dpkg -i is a logical next step.
There is some code cleanups and release work to be done now. Which distribution will be the first apt-based distribution that includes native support for Sigstore? Let’s see.
Sigstore is not the only relevant transparency log around, and I’ve been trying to learn a bit about Sigsum to be able to support it as well. The more improved confidence about system security, the merrier!
Reflecting on this work made me realize that while the natural thing to do here was to differentiate two different apt-based distributions, I have realized the same way I did for debdistdiff that it would also be interesting to compare, say, Debian bookworm from Debian unstable, especially now that they should be fairly close together. My tooling should support that too. However, to really provide any benefit from the more complete existing reproducible testing of Debian, some further benefit from doing that would be useful and I can’t articulate one right now.
One ultimate goal with my effort is to improve trust in apt-repositories, and combining transparency-style protection a’la apt-sigstore with third-party validated reproducible builds may indeed be one such use-case that would benefit the wider community of apt-repositories. Imagine having your system not install any package unless it can verify it against a third-party reproducible build organization that commits their results in a tamper-proof transparency ledger. But I’m now on repeat here, so will stop.
Do you want your apt-get update to only ever use files whose hash checksum have been recorded in the globally immutable tamper-resistance ledger rekor provided by the Sigstore project? Well I thought you’d never ask, but now you can, thanks to my new projects apt-verify and apt-sigstore. I have not done proper stable releases yet, so this is work in progress. To try it out, adapt to the modern era of running random stuff from the Internet as root, and run the following commands. Use a container or virtual machine if you have trust issues.
If the stars are aligned (and the puppet projects’ of debdistget and debdistcanary have ran their GitLab CI/CD pipeline recently enough) you will see a successful output from apt-get update and your syslog will contain debug logs showing the entries from the rekor log for the release index files that you downloaded. See sample outputs in the README.
If you get tired of it, disabling is easy:
chmod -x /etc/apt/verify.d/apt-rekor
Our project currently supports Trisquel GNU/Linux 10 (nabia) & 11 (aramo), PureOS 10 (byzantium), Gnuinos chimaera, Ubuntu 20.04 (focal) & 22.04 (jammy), Debian 10 (buster) & 11 (bullseye), and Devuan GNU+Linux 4.0 (chimaera). Others can be supported to, please open an issue about it, although my focus is on FSDG-compliant distributions and their upstreams.
This is a continuation of my previous work on apt-canary. I have realized that it was better to separate out the generic part of apt-canary into my new project apt-verify that offers a plugin-based method, and then rewrote apt-canary to be one such plugin. Then apt-sigstore‘s apt-rekor was my second plugin for apt-verify.
Due to the design of things, and some current limitations, Ubuntu is the least stable since they push out new signed InRelease files frequently (mostly due to their use of Phased-Update-Percentage) and debdistget and debdistcanary CI/CD runs have a hard time keeping up. If you have insight on how to improve this, please comment me in the issue tracking the race condition.
There are limitations of what additional safety a rekor-based solution actually provides, but I expect that to improve as I get a cosign-based approach up and running. Currently apt-rekor mostly make targeted attacks less deniable. With a cosign-based approach, we could design things such that your machine only downloads updates when they have been publicly archived in an immutable fashion, or submitted for validation by a third-party such as my reproducible build setup for Trisquel GNU/Linux aramo.