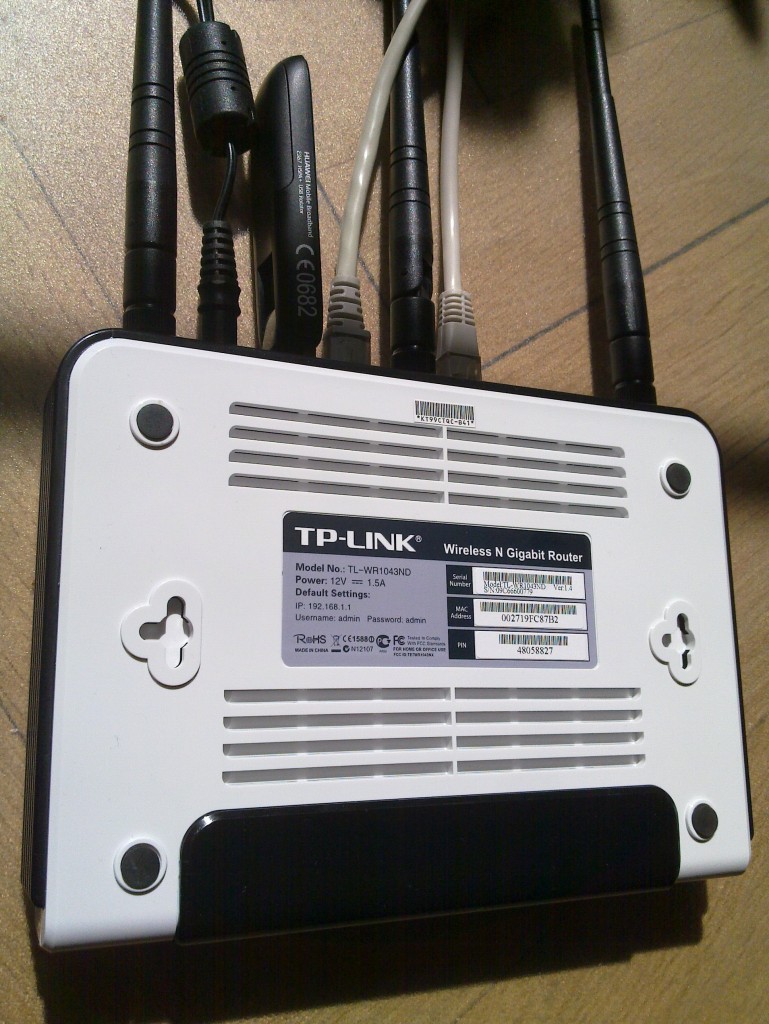
For my home office network I have been using Dnsmasq for some time. Dnsmasq provides me with DNS, DHCP, DHCPv6, and IPv6 Router Advertisement. I run dnsmasq on a Debian Jessie server, but it works similar with OpenWRT if you want to use a smaller device. My entire /etc/dnsmasq.d/local configuration used to look like this:
dhcp-authoritative
interface=eth1
read-ethers
dhcp-range=192.168.1.100,192.168.1.150,12h
dhcp-range=2001:9b0:104:42::100,2001:9b0:104:42::1500
dhcp-option=option6:dns-server,[::]
enable-ra
Here dhcp-authoritative enable DHCP. interface=eth1 says to listen on eth1 only, which is my internal (IPv4 NAT) network. I try to keep track of the MAC address of all my devices in a /etc/ethers file, so I use read-ethers to have dnsmasq give stable IP addresses for them. The dhcp-range is used to enable DHCP and DHCPv6 on my internal network. The dhcp-option=option6:dns-server,[::] statement is needed to inform the DHCP clients of the DNS resolver’s IPv6 address, otherwise they would only get the IPv4 DNS server address. The enable-ra parameter enables IPv6 router advertisement on the internal network, thereby removing the need to run radvd too — useful since I prefer to use copyleft software.
Recently I had a desire to use DNSSEC, and enabled it in Dnsmasq using the following statements:
dnssec
trust-anchor=.,19036,8,2,49AAC11D7B6F6446702E54A1607371607A1A41855200FD2CE1CDDE32F24E8FB5
dnssec-check-unsigned
The dnssec keyword enable DNSSEC validation in dnsmasq, using the indicated trust-anchor (get the root-anchors from IANA). The dnssec-check-unsigned deserves some more discussion. The dnsmasq manpage describes it as follows:
As a default, dnsmasq does not check that unsigned DNS replies are legitimate: they are assumed to be valid and passed on (without the “authentic data” bit set, of course). This does not protect against an attacker forging unsigned replies for signed DNS zones, but it is fast. If this flag is set, dnsmasq will check the zones of unsigned replies, to ensure that unsigned replies are allowed in those zones. The cost of this is more upstream queries and slower performance.
For example, this means that dnsmasq’s DNSSEC functionality is not secure against active man-in-the-middle attacks between dnsmasq and the DNS server it is using. Even if example.org used DNSSEC properly, an attacker could fake that it was unsigned to dnsmasq, and I would get potentially incorrect values in return. We all know that the Internet is not a secure place, and your threat model should include active attackers. I believe this mode should be the default in dnsmasq, and users should have to configure dnsmasq to not be in that mode if they really want to (with the obvious security warning).
Running with this enabled for a couple of days resulted in frustration about not being able to reach a couple of domains. The behaviour was that my clients would hang indefinitely or get a SERVFAIL, both resulting in lack of service. You can enable query logging in dnsmasq with log-queries and enabling this I noticed three distinct form of error patterns:
jow13gw dnsmasq 460 - -  forwarded www.fritidsresor.se to 213.80.101.3
jow13gw dnsmasq 460 - -  validation result is BOGUS
jow13gw dnsmasq 547 - -  reply cloudflare-dnssec.net is BOGUS DNSKEY
jow13gw dnsmasq 547 - -  validation result is BOGUS
jow13gw dnsmasq 547 - -  reply linux.conf.au is BOGUS DS
jow13gw dnsmasq 547 - -  validation result is BOGUS
The first only happened intermittently, the second did not cause any noticeable problem, and the final one was reproducible. To be fair, I only found the last example after starting to search for problem reports (see post confirming bug).
At this point, I had a confirmed bug in dnsmasq that affect my use-case. I want to use official packages from Debian on this machine, so installing newer versions manually is not an option. So I started to look into alternatives for DNS resolving, and quickly found Unbound. Installing it was easy:
apt-get install unbound
unbound-control-setup
I created a local configuration file in /etc/unbound/unbound.conf.d/local.conf as follows:
server:
	interface: 127.0.0.1
	interface: ::1
	interface: 192.168.1.2
	interface: 2001:9b0:104:42::2
	access-control: 127.0.0.1 allow
	access-control: ::1 allow
	access-control: 192.168.1.2/24 allow
	access-control: 2001:9b0:104:42::2/64 allow
	outgoing-interface: 155.4.17.2
	outgoing-interface: 2001:9b0:1:1a04::2
#	log-queries: yes
#	verbosity: 2
The interface keyword determine which IP addresses to listen on, here I used the loopback interface and the local address of the physical network interface for my internal network. The access-control allows recursive DNS resolving from those networks. And outgoing-interface specify my external Internet-connected interface. log-queries and/or verbosity are useful for debugging.
To make things work, dnsmasq has to stop providing DNS services. This can be achieved with the port=0 keyword, however that will also disable informing DHCP clients about the DNS server to use. So this has to be added in manually. I ended up adding the two following lines to /etc/dnsmasq.d/local:
port=0
dhcp-option=option:dns-server,192.168.1.2
Restarting unbound and dnsmasq now leads to working (and secure) internal DNSSEC-aware name resolution over both IPv4 and IPv6. I can verify that resolution works, and that Unbound verify signatures and reject bad domains properly with dig as below, or use online DNSSEC resolver test page although I’m not sure how confident you can be in the result from that page.
$ host linux.conf.au
linux.conf.au has address 192.55.98.190
linux.conf.au mail is handled by 1 linux.org.au.
$ host sigfail.verteiltesysteme.net
;; connection timed out; no servers could be reached
$
I use Munin to monitor my services, and I was happy to find a nice Unbound Munin plugin. I installed the file in /usr/share/munin/plugins/ and created a Munin plugin configuration file /etc/munin/plugin-conf.d/unbound as follows:
[unbound*]
user root
env.statefile /var/lib/munin-node/plugin-state/root/unbound.state
env.unbound_conf /etc/unbound/unbound.conf
env.unbound_control /usr/sbin/unbound-control
env.spoof_warn 1000
env.spoof_crit 100000
I run munin-node-configure --shell|sh to enable it. To work unbound has to be configured as well, so I create a /etc/unbound/unbound.conf.d/munin.conf as follows.
server:
	extended-statistics: yes
	statistics-cumulative: no
	statistics-interval: 0
remote-control:
	control-enable: yes
The graphs may be viewed at my munin instance.

